


Gel manicures are like mini investments.Yes, they cost more than a regular manicure, but on average, they last twice as long. But who says you have to go to a salon to get a good one? Save yourself a trip (and a few dollars) and check out these simple steps for getting a great at-home gel manicure.
Step 1
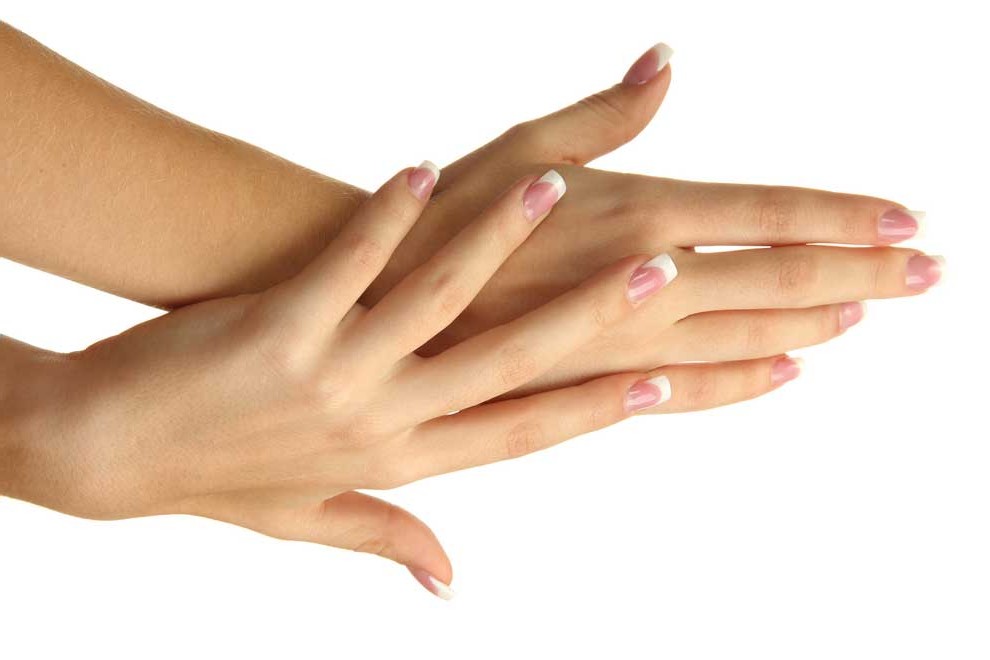
Buff, file and cut your nails and shape to your preferred style. I like short and square nails for a clean, polished look.
Step 2:
Apply a base coat of Gelous Advanced Nail Gel Coat to each nail. Gelous forms a thick barrier between the nail and polish, creating firmer, healthier looking nails.
Step 3
Pick your polish. Unlike nail salons, which have a limited selection of gel manicure colors, if you choose to do an at-home gel manicure, you can use any color or brand. Apply a thin layer of polish, and let dry for 3 minutes.
Step 4
Apply another layer of Gelous base coat and let dry.
Step 5
Apply another layer of nail polish and let dry.
Step 6
Apply a layer of Dior Gel Coat topcoat. The quality is exceptional and will help extend the life of your manicure by several days.
Step 7
Apply the final layer of Gelous and let dry 15 minutes for a flawless, finished look. Pro Tip: Unlike salon gel manicures, at-home manicures can be removed with regular 100% acetone nail polish remover. If you are looking to remove a salon gel manicure, dip 10 cotton balls in 100% acetone nail polish remover. Use a nail file and buff the topcoat of your nail polish to help break it down. Wrap each cotton ball around your nail with 2-by-2 inch pieces of foil. Let sit for 20 minutes. Remove the cotton balls and foil and gently peel the gel polish from the bottom. It will save you a trip to the salon and save your nails from the harsh buffing tool used to remove gel polish.